Grewingk Glacier | Unforgettable Alaska Glacier Hike

The hike to Grewingk Glacier in Kachemak Bay State Park near Homer is remote, rewarding, and stunningly beautiful. Being so close to an active glacier is breathtaking! To help you prepare for this lesser-known Alaska glacier hike, we put together this detailed trail guide.
A glacier hike near Homer that includes dense rainforest, frequent wildlife sightings, a mandatory water taxi ride, and a glacial lake dotted with electric-blue icebergs — the Grewingk Glacier trail is quintessentially Alaskan.
Grewingk Glacier is one of the most popular trails in 400,000-acre Kachemak Bay State Park (fun fact: it’s Alaska’s very first state park!), but don’t let that deter you. This hike is spectacular, truly, and its remote location means that even when it’s ‘busy,’ it’s not that busy.
As you research the trail, you’ll quickly learn that because it’s a point-to-point hike, there are multiple route options.
Regardless of which route you choose, however, the trailheads are only accessible by boat and require a shuttle, so some advance planning is required (which is exactly why the trail is never packed with hikers!).
Don’t let the logistics or remoteness scare you away from hiking to Grewingk Glacier. In fact, we think those are reasons in favor of doing it…this is actually one of our favorite hikes, ever!
If you’re looking for a tranquil, super-scenic Alaska hike that involves a glacier and doesn’t involve any crowds, stick around. This detailed trail guide covers everything you need to know about the Grewingk Glacier hike.
Spending time in Seward? Homer is well worth a detour, even if it’s just a day trip!
This post contains affiliate links. I may receive a small commission — at no cost to you — if you click or make a purchase through any of them. For more information, read my disclosure statement. I appreciate you!

Tip: In addition to details about hiking to Grewingk Glacier, we included a ton of extra info. The best time of year to go, what to bring and wear, how to setup the water taxi, and more! Use the Table of Contents below to jump directly to (or skip!) a specific section.
Jump ahead to:
Grewingk Glacier Trail Highlights
- Location: Kachemak Bay State Park in Homer, Alaska
- Distance: 4.8 miles point-to-point (7.72 kilometers)
- Elevation: ~200 feet
- Difficulty: Moderate
- Pets allowed? Yes (but keep in mind, you have to take a water taxi AND this is bear country)
- Permits required? No
- Detailed trail notes + directions
With the Grewingk Glacier trailhead accessible only by boat, its remoteness deters many hikers. Which is a shame, because this Alaska glacier hike is bucket list-worthy and yet fairly easygoing and family-friendly — most people say if it weren’t for the uphill sections, it would be rated easy!
The first leg of your hike is actually a 20-minute water taxi ride…an incredibly scenic, postcard-worthy ride that sets the scene for the rest of your day.
If you start the trail at Glacier Spit as the locals suggest (more on that below!), you’ll have a short, gradual uphill climb from the beach right away. But fortunately, that means you’ll go down the steepest section of the trail, at the very end on the backside of the saddle.
Most of the trail is through dense, rainforest-like Sitka spruce and cottonwood forest, but when you reach Grewingk Lake, the landscape changes dramatically.
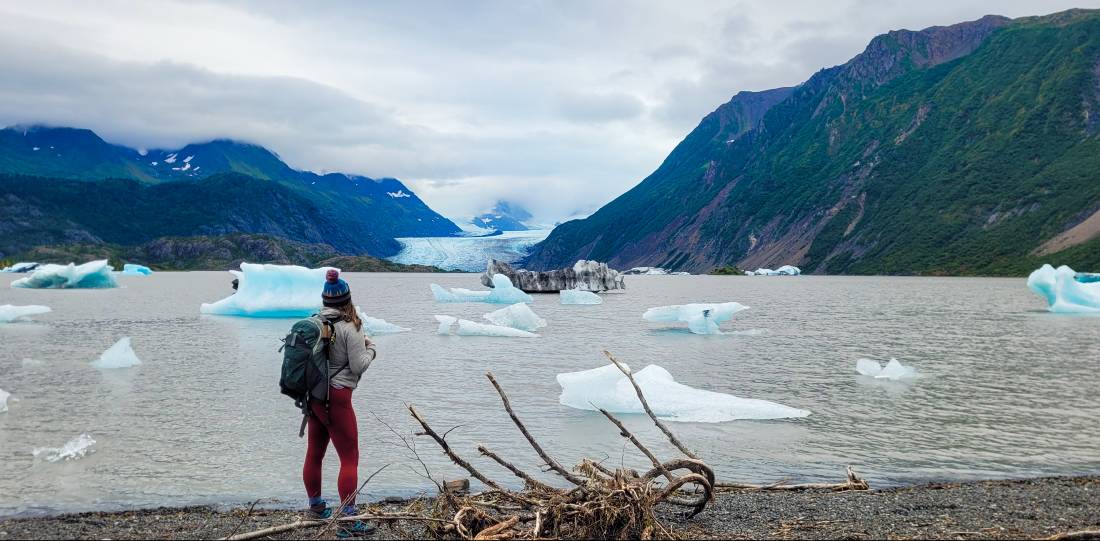
The lake is surrounded by towering snow-capped mountains and Grewingk Glacier itself, and several bright blue icebergs bob in the water. This unforgettable view was one of the highlights of our entire Alaska trip!
Another standout on this hike is the detour to the Grewingk Creek Tram, which you can reach via the Grewingk Tram Spur Trail.
This tram system operates on a unique hand-operated cable car pulley system that requires a minimum of two people — essentially, one person needs to pull the other across!

A Note About Alaska Glacier Hikes
It’s extremely important to remember that glaciers are active, unpredictable beings, constantly changing. Keep a safe distance from the glacier face so you’re not harmed by sudden calving (chunks of ice falling off), and do not climb on the glacier.
Only highly trained ice climbers with the proper gear should ever attempt hiking or climbing on a glacier, as its crevasses (cracks) are extremely dangerous.
WANT MORE ALASKA CONTENT?
Know Before You Go
Because of its remote location and the logistics of coordinating a water taxi, there are some things you should consider and plan for before setting out on the Grewingk Glacier hike.

How to get to the trailhead
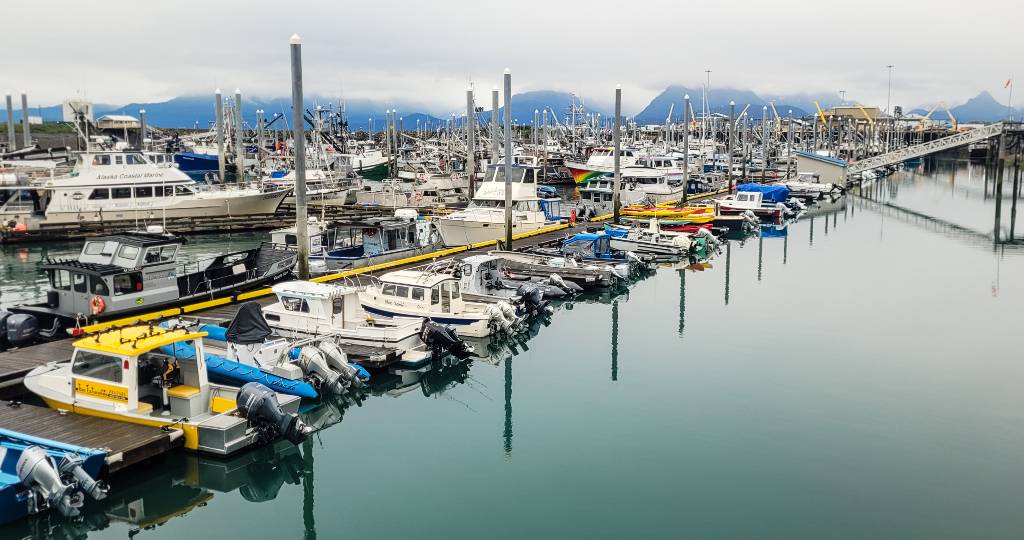
In order to get to the Grewingk Glacier trailhead, you’ll have to take a water taxi across Kachemak Bay from Homer. There are several very similar options, all locally owned companies priced around $75-85 per person round-trip. Bring cash to tip!
We chose Coldwater AK and highly recommend them! The boat captains were friendly and knowledgeable (these folks live, work, and play in Homer, so they’re the best resources for recommendations!), and the boats themselves were comfortable.
It’s recommended to make water taxi reservations in advance, but you may have luck simply walking up and asking — just be prepared to wait awhile. The water taxi boats themselves are all fairly easy to spot in the harbor, and the companies all have prominent office buildings near it.

Best time of year to hike to Grewingk Glacier
The best months to hike the Grewingk Glacier trail are from May through October. This is when the weather is warmest and trails are typically (mostly) ice-free, but they do tend to be extremely muddy.
Summer is also when you’re most likely to spot black bears and other wildlife, including moose and mountain goats. For the record, we hiked to Grewingk Glacier on one of the last days in August, and didn’t see a single animal — though we did see signs, such as scat and prints.
Although you can hike the Grewingk Glacier Trail in the winter, it’s important to note that the weather will almost certainly be dicey, the trail will be icy, and crampons and an ice axe are essentials. Also, water taxis run on a much more limited schedule in the winter.

How long does the Grewingk Glacier hike take?
The classic Grewingk Glacier Trail is 4.8 miles (7.72 kilometers) round-trip and takes an average of just over two hours to complete.
The Grewingk Glacier Trail + Hand Tram detour is 6.8 miles (about 11 kilometers) and takes most people just under four hours to complete.
How difficult is the Grewingk Glacier trail?
Although the Grewingk Glacier hike is rated as moderate, we personally feel it’s best described as easy on the flat sections (the majority of the trail) and moderate on the steep climbs — particularly the “saddle” section.
A reasonable level of fitness, and perhaps trekking poles, is recommended to tackle the ascents and descents.
CELL SERVICE in Kachemak Bay
Don’t expect to have any cell service between Homer and Grewingk Glacier. We did, surprisingly, all have intermittent cell signal at various points on the trail, but it was never strong or for more than a fleeting minute or two.
USING ALLTRAILS to Find Grewingk Glacier
Since cell service isn’t at all reliable in this area, it’s really easy to get turned around. That’s exactly why we always download trail maps ahead of time on AllTrails.
The free version of AllTrails is awesome, but if you frequently hike in cell phone dead zones, the ability to download and access trail maps offline is well worth $2.99 a month.
Try a 7-day Free Trial of AllTrails+!
Grewingk Glacier Trail Map
Grewingk Glacier Detailed Route Info
Since this is a point-to-point trail, there are multiple route options for hiking to Grewingk Glacier. And if you look solely at AllTrails for this info, you’ll likely end up a bit confused!
We’ve done the hike (and in case you can’t tell, it was one of the highlights of our Kenai Peninsula trip!), so we broke it down for you: the best route is the Classic Grewingk Glacier Trail, starting from Glacier Spit.
For those seeking a bit more adventure, add the Grewingk Tram Spur Trail to experience the unique cable car pulley system across Grewingk Creek.
It’s worth noting that the hand tram is sometimes closed, so before taking this detour, ask locals, your water taxi captains, or other hikers if they’ve recently done it.
Locals (including our Coldwater Alaska water taxi captain) told us to start at Glacier Spit and finish in Halibut Cove (AKA, the “saddle” section of the Grewingk Glacier trail), which we absolutely loved. Interestingly, though, this is opposite of what many online forums suggest.
Starting from the beach at Glacier Spit, you enjoy head-on views the whole way — whereas the best views would be behind you if you start at Halibut Cove.
The views aren’t the most compelling reason to hike this direction, though; it’s the fact that you go down the steepest section instead of up it, making for a much more enjoyable hike overall.
It’s important to add that the water taxis’ drop-off and pickup points are completely dependent on the tide, so you may need to walk further down the beach than planned. It’s essential to factor some extra time into your hike for this so that you don’t miss your pickup!


Classic Grewingk Glacier Hike
The classic Grewingk Glacier hike is the most popular route of the two mentioned, mostly because it’s shorter at 4.8 miles (7.7 km) roundtrip. Because it’s an out-and-back trail, you can start this hike at either Halibut Cove or Glacier Spit, and it takes an average of just over two hours.
Remember: you MUST use a water taxi service (or other boat, if you have access to one) to reach either trailhead for Grewingk Glacier. Expect it to cost approximately $70-80.
We started our hike at Glacier Spit, ending in Halibut Cove. After hopping from the boat onto the beach, walk north for a short time until you see the trail marker (an orange triangle with a “T” on it). There’s a trail register and a rustic pit toilet at the beginning of the trailhead.
Once you’re on the trail, the landscape immediately — and dramatically — changes.
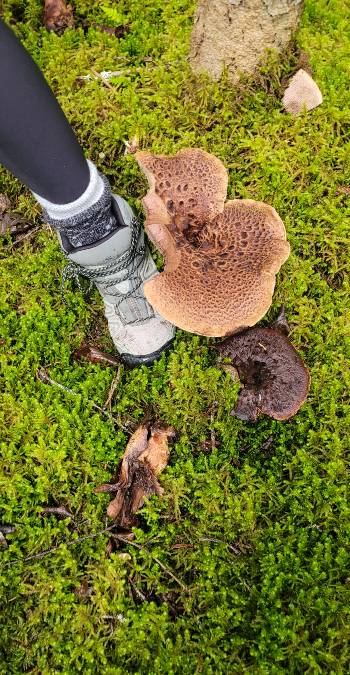
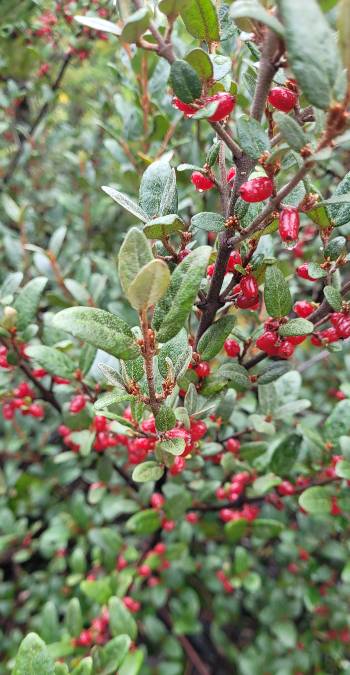
You’ll be immersed in a dense forest that’s a fascinating mix of Sitka spruce (the type of forest most people envision in Alaska) and full-blown, Costa Rica-esque rainforest. Expect exotic-looking flowers, leaves several times larger than your own hands, and mushrooms galore!
The trail was extremely muddy in places in late August, and while it was relatively flat, there are some gnarly roots to navigate over/around.
At about 1.4 miles from the trailhead (note: if you’re tracking the hike on GPS, don’t start it before the trail register, since you may have to walk up to one-third of a mile from your water taxi), you’ll come to a junction with Emerald Lake Trail. Stay straight to head to Grewingk Glacier.
Note: turning left on Emerald Lake Trail takes you to the Grewingk Creek Tram. More on that later!
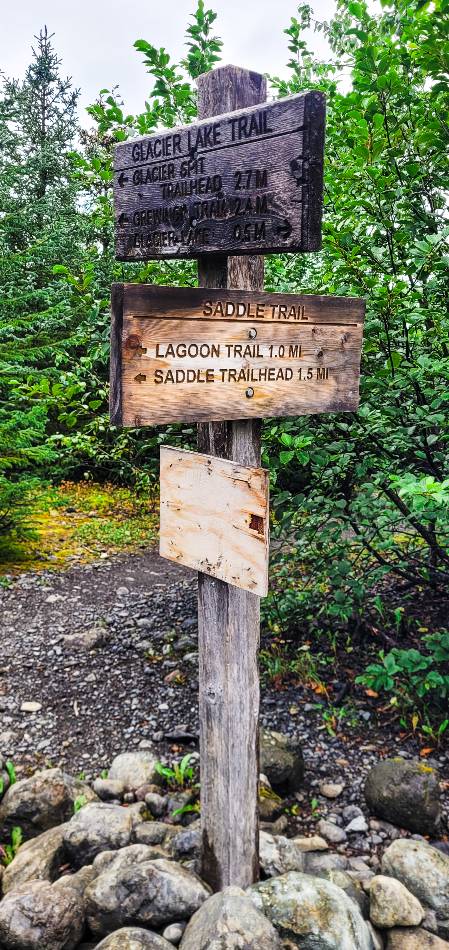
From here, the trail opens up and the mud becomes pebbles. Another 1.4 miles in, you’ll come to another trail junction, this one with several signs.
Follow the arrow to Glacier Lake, another half-mile or so. You’ll actually head away from the main trail onto a smaller spur to reach Grewingk Glacier and the lake, but it’s very obvious.
Before you get on the spur trail, you’ll have gotten a few glimpses of the glacier, but once on the spur, the views get better and better, as you’re heading straight toward it.
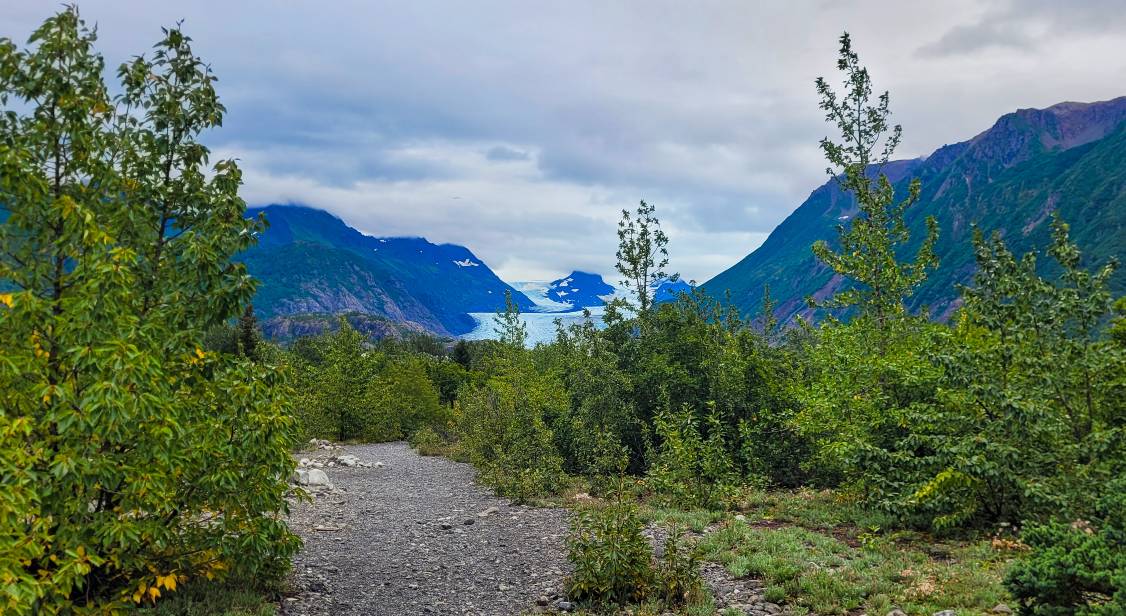
Once you get to the lake, you’ll find a large beach area and plenty of places to relax with a drink and snacks. There’s also a pit toilet here.
You can walk around the lake a considerable distance (or, if you’re especially brave, take a polar plunge!); we ended up adding 0.8 miles to our total with all the exploring we did here.
When you’re able to peel yourself away from the lake and the head-on views of Grewingk Glacier, head back down the spur trail the way you came. At exactly half a mile, you’ll again come to the trail junction signs. This time, go left — heading toward the saddle and Halibut Cove.
The scenery quickly reverts back to the dense rainforest-like vegetation, and the trail gets muddy again, with lots of tree roots. You’ll get a few last views of Grewingk Glacier, a couple of them perfectly framed by trees.
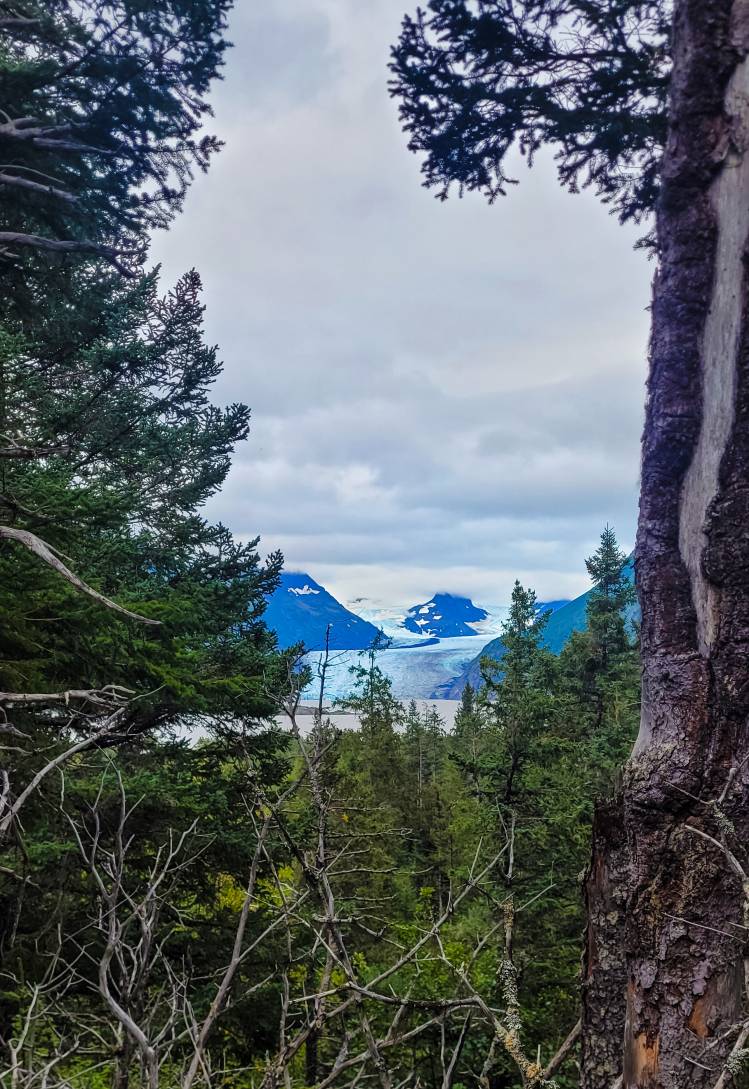
You really can’t veer off-trail easily here, but keep your eyes open about one mile from the lake for a trail marker signifying the final 0.4-mile stretch. You’ll get your first views of spectacular Halibut Cove right around this point, and they continue to get better and better.
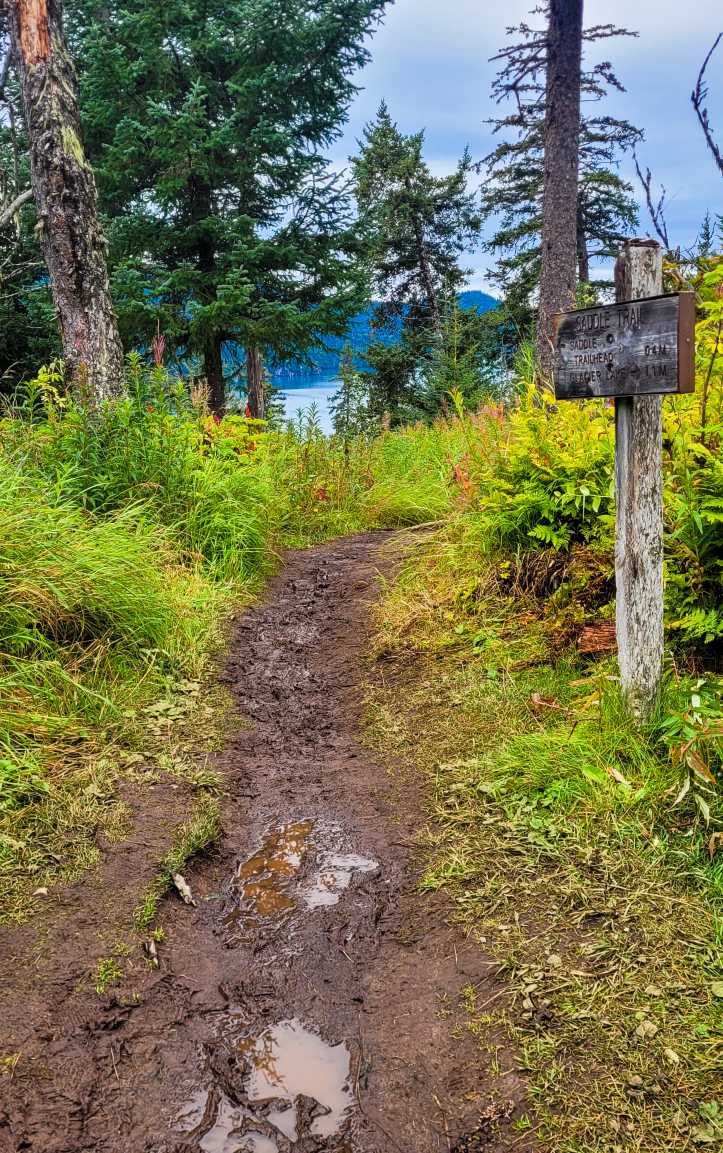
From the last marker, the trail drops dramatically. The last quarter-mile descends a set of steep, muddy switchbacks. This stretch isn’t technical per se, but the steep angle combined with slick mud makes it challenging. We highly recommend trekking poles here!
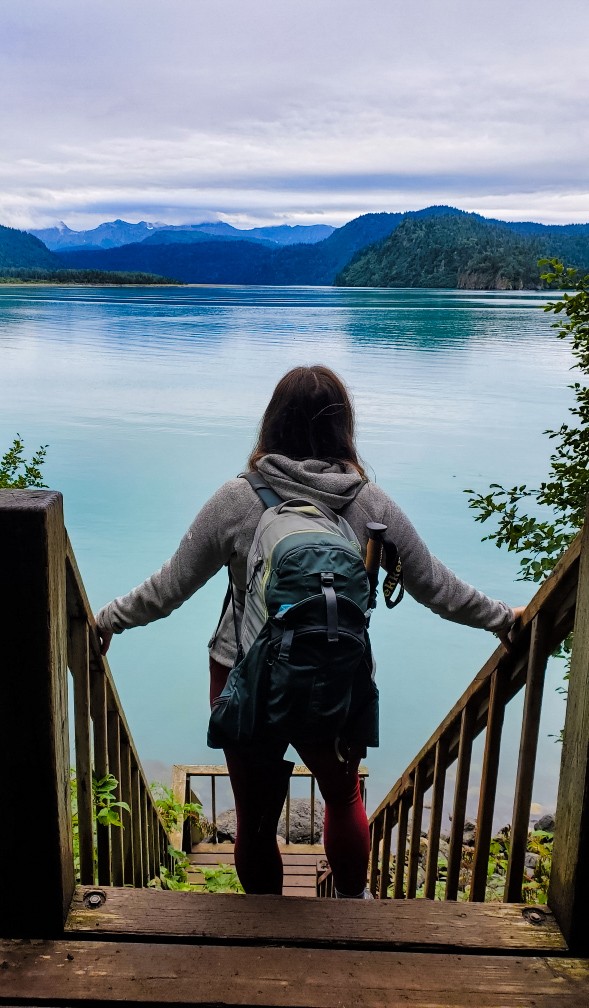
The final flourish on the Grewingk Glacier trail is a short but very steep wooden staircase down to the beach, where hikers meet their water taxi.
Depending on the tide level, you may have to scramble over some rocks and head further down the beach, or you may be able to wait right at the bottom of the stairs.
We finished hiking with about 45 minutes to spare, so we headed toward a sandy stretch of beach to explore. This area is absolutely stunning and we literally had it all to ourselves!
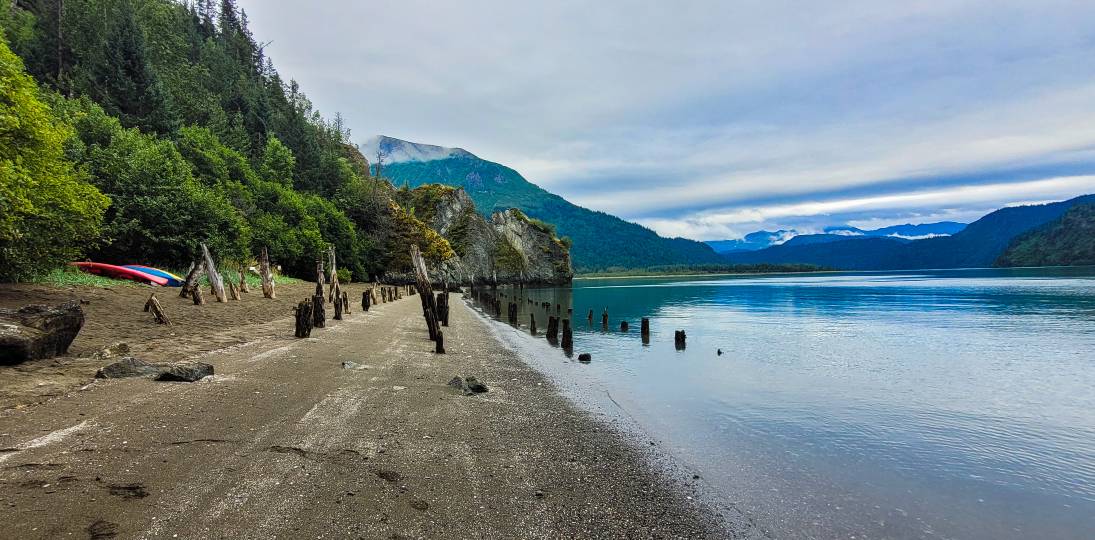
Keep a close eye on the time, since you’ll have to head back to the water taxi pickup area. There’s a clear view across the bay from the beach, so chances are, you’ll actually see and/or hear yours before it arrives.
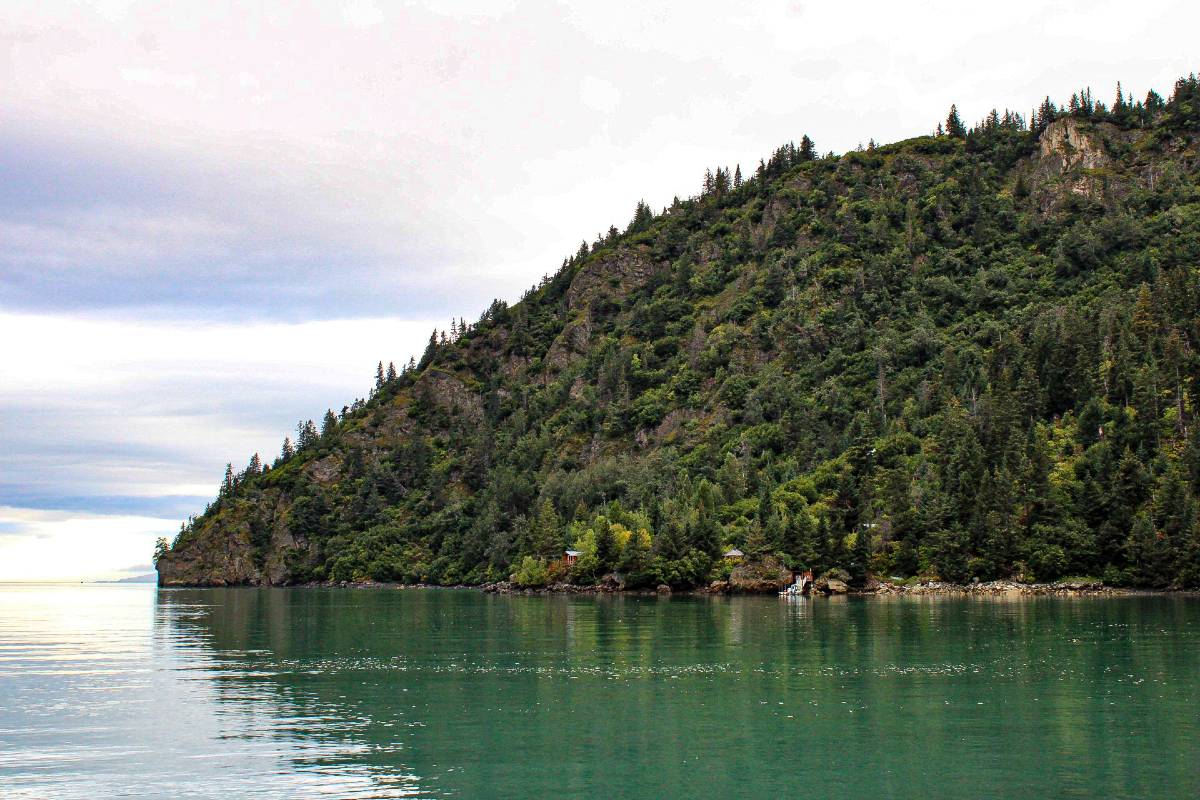
Grewingk Glacier Trail + Grewingk Creek Tram
Aside from the trail’s namesake, the Grewingk Creek Tram is one of the main reasons people embark on this particular Alaska glacier hike. The tram is a cable car that operates via a hand pulley system, allowing safe passage over Grewingk Creek.
There are two ways to get to the Grewingk Creek Tram: an out-and-back detour from the Grewingk Glacier trail, or an alternative (and significantly longer, at 12.6 miles one way) route altogether.

Unfortunately, the tram wasn’t operational during our trip in late August, so we didn’t get to experience it.
Our water taxi captain told us about it, then other hikers who attempted it confirmed — and both told us that unless you can actually cross in the tram, there is no reason to take the detour.
We never found out what was wrong with it, but we were told that the tram is occasionally down or inaccessible, so it’s worth asking beforehand!
Since we didn’t make it to the tram, we can’t speak to what that part of the hike is like, the spur along Emerald Lake Trail. However, we know it’s almost exactly one mile each direction from the trail junction, and the other hikers told us it was overgrown in some parts, but nothing crazy.
If you’re interested in the longer alternate route mentioned, check out the full details on AllTrails. Note that because it’s substantially longer, it’s only recommended for overnight backpacking trips.
Rather than come back to Grewingk Glacier Trail, this trail follows Emerald Lake Trail and Humpy Creek Trail over Foehn Ridge to an overlook, then over/behind Grewingk Glacier.
The trail finishes at the far end of Grewingk Lake, so you can choose your adventure for getting back — follow the same route or piece together trail sections and end up in the Saddle.
Wildlife on the Trail
Black bears are quite common on the Grewingk Glacier Trail. If that feels a bit out of your comfort zone, keep in mind that, well, this is Alaska. Plus, bears don’t want much to do with us!
Considering you’re hiking in their territory, it’s important to be both respectful and safe. Make your presence known by talking loudly or even singing and don’t toss any trash or food waste that may attract bears.
Of course, if you do come across a bear, give it plenty of space and do not make any sudden movements.

Tips for Hiking to Grewingk Glacier
- Keep track of time. Pay attention to the time to give yourself plenty of cushion to meet your water taxi. You likely won’t have any cell service while hiking Grewingk Glacier, so you can’t simply call and let them know you’re running late.
- Start at Glacier Spit and end in Halibut Cove. Head-on views are better hiking this direction, and the steepest area will be downhill instead of up.
- Wear layers. You’ll pass through several very different microclimates on the trail, including thick, humid rainforest, hot and exposed sections with no shade, and the chilly beach near the glacier.
- Bring trekking poles. Even if you only use them on the switchbacks at the end, you’ll be thankful you brought them!
- Prepare for mud. Leave the Chacos behind and instead wear good, sturdy shoes.
- Pack bear spray. Lots of bears live near Grewingk Glacier, so it’s better to be safe than sorry. Be sure to practice properly using your bear spray, and keep it where you can easily reach it, like clipped onto the outside of your hiking pack.
- Educate yourself on mushrooms. We’ve seriously never seen so many mushrooms anywhere! Do some research so you know which ones are safe and which ones to avoid.
- Take a polar plunge. The water in the lake is always freezing (literally!), but how many times in your life will you be able to say you swam in a glacial lake in Alaska?!

Camping Near Grewingk Glacier
If waking up to views of an Alaska glacier is on your bucket list, or you want to explore some of the other trails in Kachemak Bay State Park, consider camping as part of your Grewingk Glacier adventure.
- Glacier Spit – near the trailhead; outhouse available
- Rusty’s Lagoon – look for the short spur trail on the right about 0.3 miles in
- Grewingk Glacier Lake – wake up facing the glacier (outhouse nearby)!
- Right Beach – about one mile from the trailhead (note you’ll have to keep a close eye on the tides to cross the lagoon coming in and out of camp)
For a truly unique experience, you can also rent the rustic Right Beach Yurt (you know we love a great Alaska glamping spot!). The yurt is available by reservation only from mid-May through mid-September and it costs $75 a night.
Note that you can only access the yurt during low tide, so staying here requires some planning — and ideally someone comfortable being off-grid in the wilderness!
What to Pack for an Alaska Glacier Hike
In addition to some hiking basics (sturdy hiking shoes, a quality hydration pack with water bladder, and snacks), here are a handful of items you may not necessarily think to bring along.
- Trekking poles
- Bug spray
- Bear spray
- Wool socks (if you want to swim, it’s a good idea to bring an extra pair, or sandals to hike out in while your feet dry)
- Layers, including a packable rain jacket
- Microfiber towel if you plan to take a polar plunge
- Rain cover for your backpack (we love this ultra inexpensive universal one)
- Binoculars
- Headlamp and extra batteries – we LOVE both the BioLite HeadLamp 325 and Petzl Tactikka
- Map or navigation – again we HIGHLY recommend AllTrails+
- Even if you’re not sure the premium subscription is for you, sign up for the free version at the very least. Use our link to TRY a 7-day free trial of AllTrails+!
- Backup battery for your phone
- Cell-phone compatible tripod with remote
- Garmin InReach Mini – satellite communicator for when you truly have no service. If you hike often, it’s well worth the cost. Also a great gift for outdoorsy folks!
- Plenty of snacks and extra water
- Extra plastic bag for packing out trash (ALWAYS practice Leave No Trace!)

